
A Retail Tradition Serving the General Public and Industry Since 1953.

, 3X Distilled, 1 lb")
 500g")

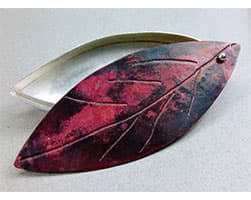
patina recipes & supplies

Safety, basic equipment, metal preparation, maintenance & more.
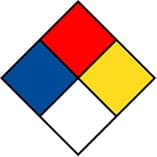
looking for the sds?
We have links to an SDS near the top of every chemical page, or click below for our full list of SDS available to download.
